Blog
Top 10 Mini Excavator Attachments and What They Do
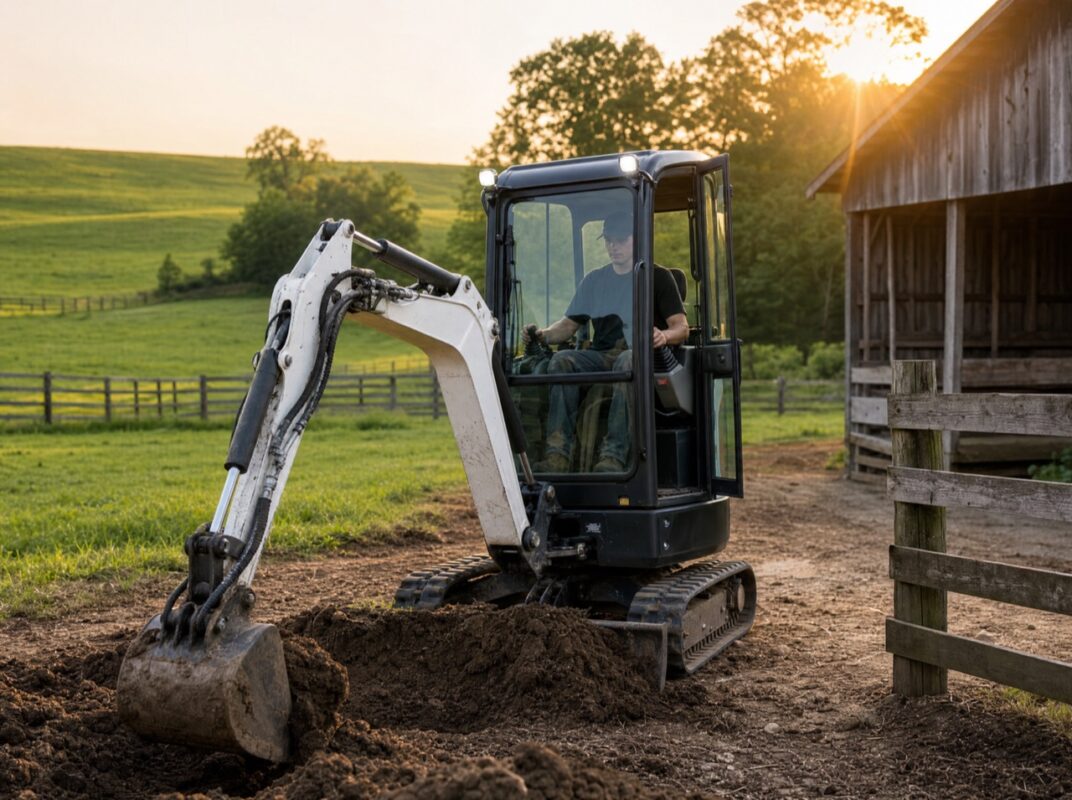
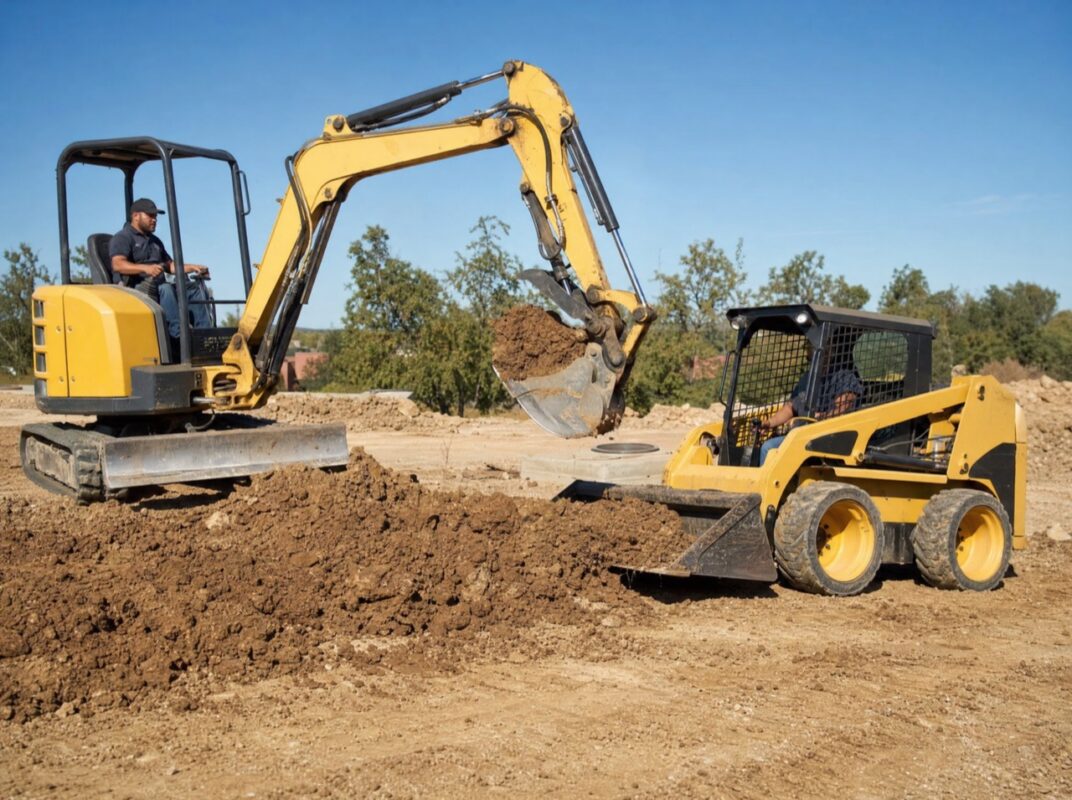
The right toolbox of mini excavator attachments turns a single compact machine into a digger, a grader, a drill, a demolition tool, and a material handler. Whether you run a 1-ton unit in tight backyards or a 5-ton machine on a farm, knowing the top 10 mini excavator attachments and what they do helps you buy the correct tools the first time and avoid wasting money on gear your machine cannot run. Below is a clear, no-hype breakdown of the most useful attachments, when each one earns its keep, and how to match them to your machine.
How mini excavator attachments connect and get power
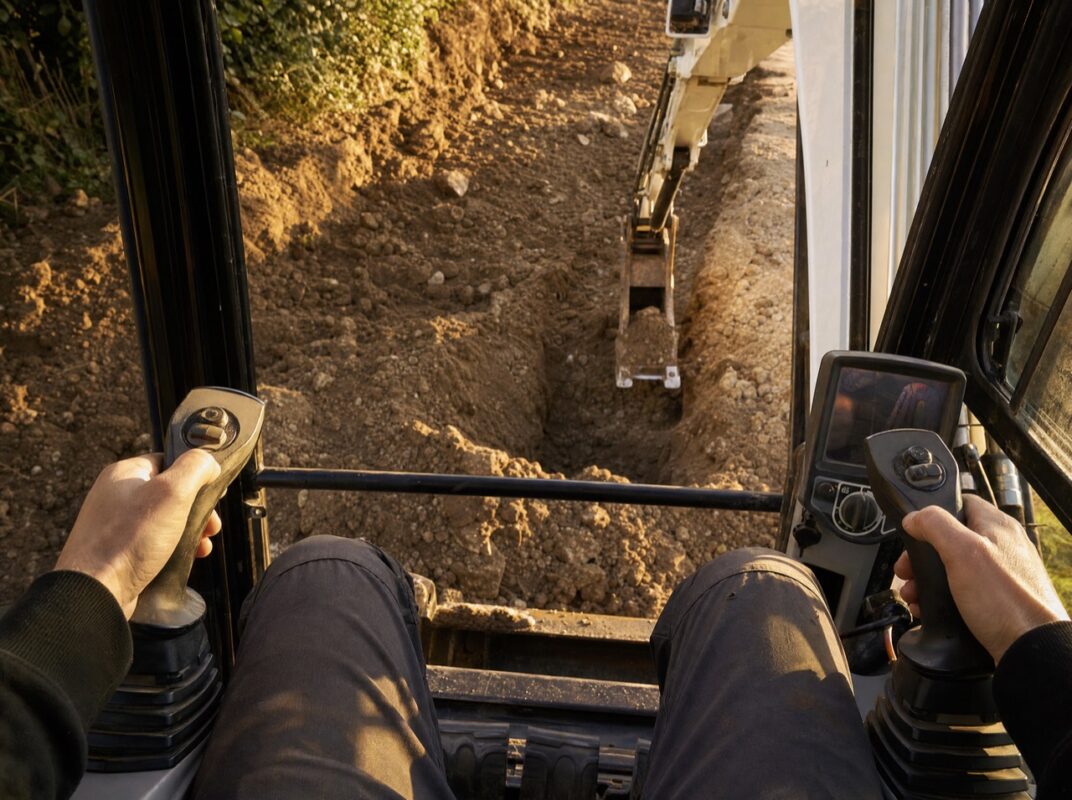
Before picking tools, it helps to understand two basics: how attachments mount, and how powered tools get their flow. Most attachments connect through a pin-on mount or a quick coupler. A quick coupler lets you swap buckets and tools in seconds without crawling under the boom with a hammer and pins, which is a real time-saver on jobs that need several tools in one day.
Powered attachments, such as augers and breakers, run on the machine’s auxiliary hydraulics. When you shop, two numbers matter most:
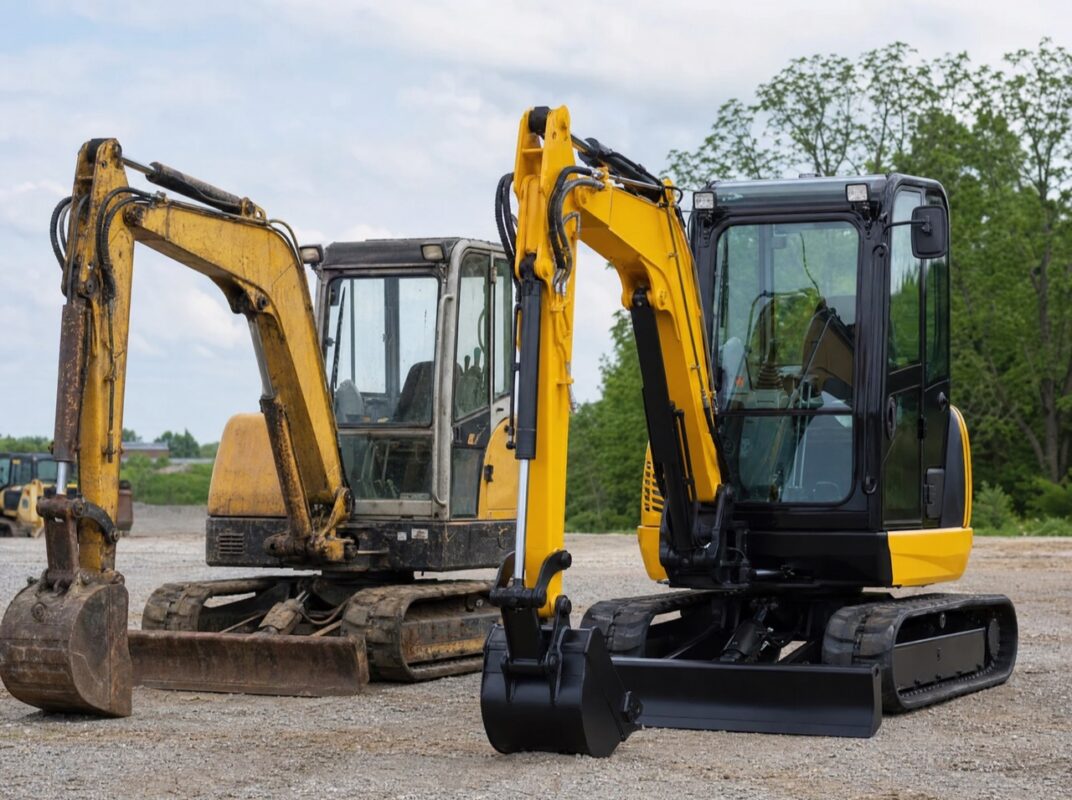
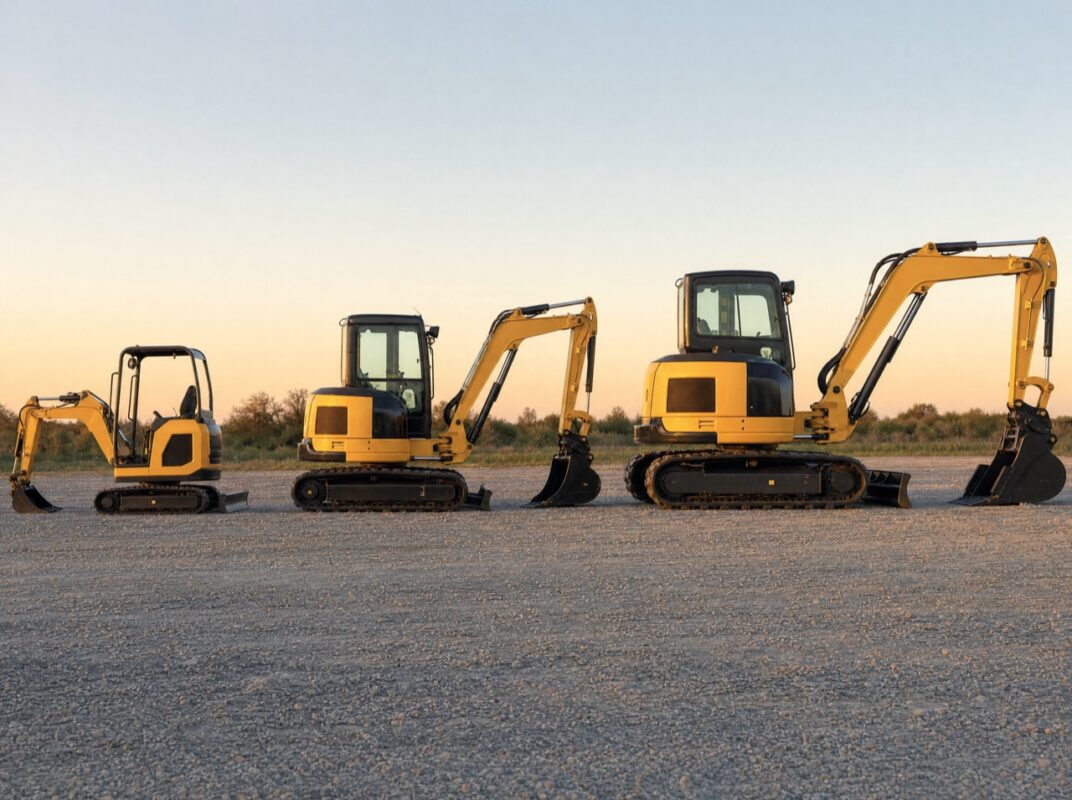
- Operating weight class (for example 1, 2, 3.5, or 5 ton) determines how large a tool the machine can safely lift and dig with.
- Auxiliary hydraulic flow and pressure determine which powered attachments will work. An auger or breaker sized above your machine’s flow will run slowly or not at all.
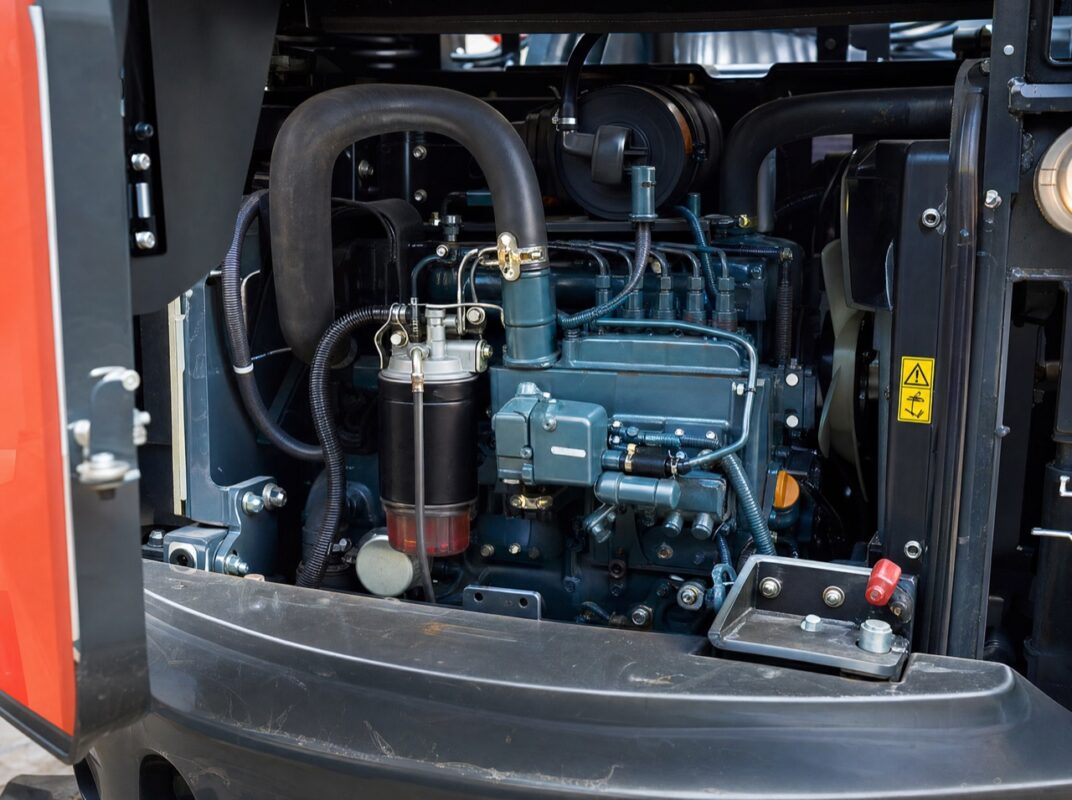
You can compare machine sizes and their capabilities across our mini excavators lineup, and most genuine Kubota diesel-powered units offer the auxiliary circuits these tools need.
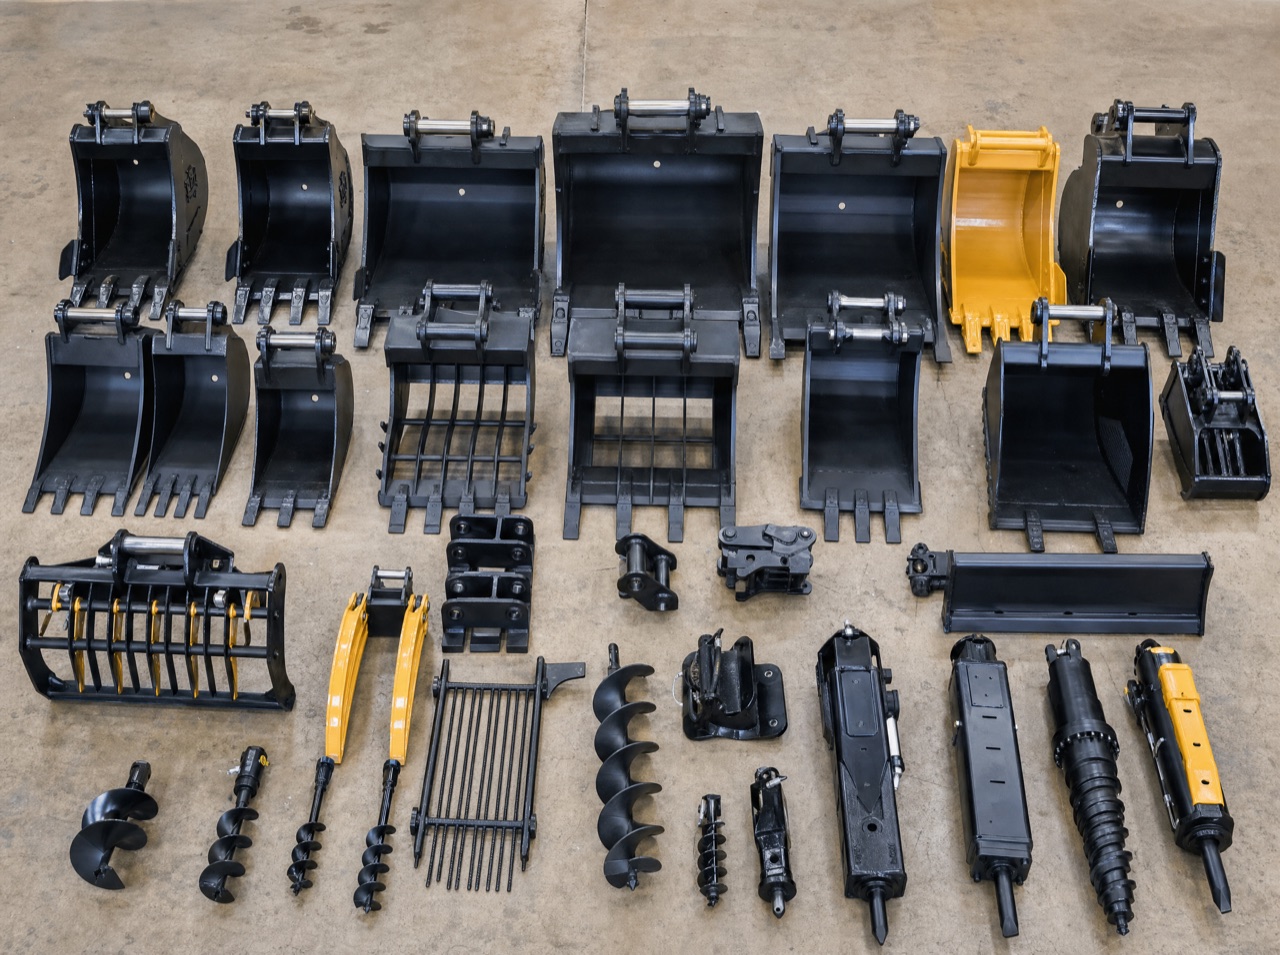
The top 10 mini excavator attachments and what they do
1. Digging bucket (standard)
The everyday workhorse. A standard digging bucket handles trenching for water, sewer, electrical, and irrigation lines, plus footings and general excavation. Most owners keep two or three widths. A narrow 12-inch bucket cuts clean utility trenches, while an 18 to 24-inch bucket moves dirt faster for footings and basements.
2. Grading or ditch-cleaning bucket
Wide and flat with no teeth, this bucket smooths surfaces, backfills trenches, shapes ditches, and finishes grade. Many are mounted on a tilt mechanism so you can angle the cutting edge to slope a driveway or crown a ditch without repositioning the whole machine. If you do landscaping or final grade work, this is often the second bucket people buy.
3. Auger
A hydraulic auger drills clean, consistent holes for fence posts, deck footings, sign posts, and tree planting. Swap the bit diameter to match the job, from roughly 6 inches up to 30 inches or more depending on your machine’s flow. Augers save your back and beat hand-digging by a wide margin, especially in hard or rocky ground where a manual post-hole digger stalls out.
4. Hydraulic breaker (hammer)
The breaker turns your excavator into a demolition tool. It chips concrete, breaks up old slabs and footings, splits rock, and helps remove stubborn boulders. Sizing matters here more than almost any other attachment: a breaker that is too heavy will overwork the boom, and one that is too light will bounce instead of breaking. Always match the hammer to your machine’s weight class and hydraulic flow.
5. Thumb
A thumb works with your bucket like a hand, letting you grab, pinch, and carry irregular objects such as logs, brush, rocks, broken concrete, and root balls. Hydraulic thumbs open and close on demand for fine control, while mechanical thumbs are simpler and cheaper but adjust by pin. For land clearing and cleanup, a thumb is one of the highest-value additions you can make.
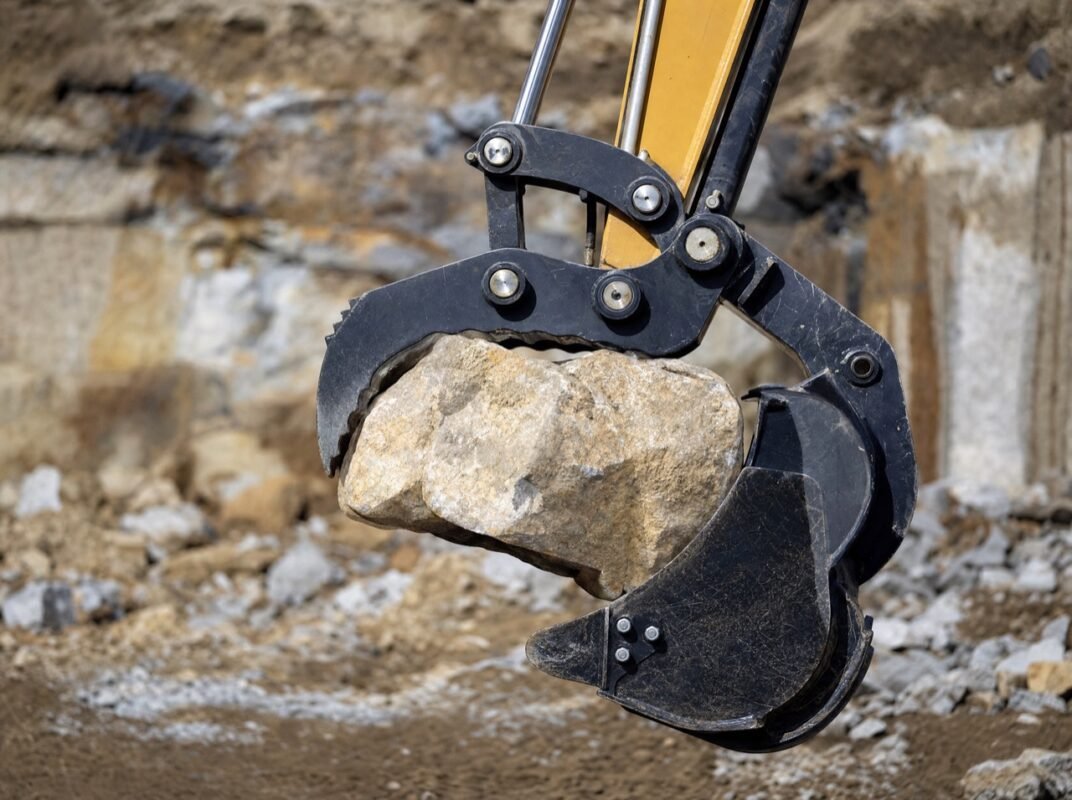
6. Grapple
Where a thumb assists the bucket, a grapple replaces it for serious material handling. A two-jaw or “rake” grapple is built to pick up brush piles, logs, demolition debris, scrap, and rock. Landscapers and property owners clearing overgrown lots lean on grapples to load trailers fast and keep hands off sharp or heavy material.
7. Ripper
A ripper is a single heavy tooth that tears into compacted soil, frost, asphalt, clay, and shallow rock that a bucket cannot penetrate. Run the ripper first to loosen the ground, then switch to a bucket to dig it out. It is a simple, durable, low-cost tool that dramatically expands what your machine can excavate in tough conditions.
8. Compaction plate (plate compactor)
This attachment uses hydraulic vibration to compact soil and gravel in trenches, around footings, and on slopes you cannot reach with a walk-behind plate. Properly compacting backfill reduces future settling under driveways, slabs, and pipe runs, so this tool pays off on any job where the ground has to stay put.
9. Trenching bucket (narrow utility)
A dedicated narrow bucket, often 6 to 12 inches wide, cuts tight, efficient trenches for irrigation, drainage, low-voltage wiring, and conduit. Using a narrow bucket instead of an oversized one means less spoil to move, less backfill, and less surface disruption, which matters on finished lawns and tight residential lots.
10. Tilt or hydraulic tilt bucket
A tilting bucket pivots side to side, letting you cut slopes, shape swales, and finish grade along a wall or curb without constantly repositioning the machine. It blends the smoothing ability of a grading bucket with the flexibility to work at an angle, which speeds up drainage and landscape work considerably.
How to choose the right mini excavator attachments for your work
Buying smart starts with the jobs you actually do, not the longest tool list. Use this checklist to build a practical kit:
- List your top three recurring tasks (trenching, grading, post holes, demolition, cleanup) and buy for those first.
- Confirm your machine’s weight class so every attachment is rated for it.
- Check auxiliary hydraulic flow and pressure before buying any powered tool.
- Decide on pin-on versus quick coupler; a coupler is worth it if you switch tools daily.
- Match bucket widths to your trench and footing sizes rather than guessing.
- Start with a bucket set plus a thumb if you are new; add specialty tools as needs appear.
You can browse compatible tools across our attachments selection, and pair them with the right base machine from the mini skid steers and excavator ranges. If you are unsure which tool fits your unit, our team offers direct technical support and can confirm sizing before you order.
Frequently asked questions
How many attachments do I really need to start?
Most owners do fine with a small starter kit: one or two digging buckets, a grading bucket, and a thumb. That combination covers trenching, backfilling, grading, and basic cleanup. From there, add an auger, breaker, or grapple as specific jobs call for them, rather than buying everything at once.
Will any auger or breaker fit my mini excavator?
No. Powered attachments must match your machine’s weight class and auxiliary hydraulic flow and pressure. A tool sized too large will run poorly or strain the machine, and one too small will underperform. Always check these specs, or ask us, before ordering a hydraulic attachment.
Is a quick coupler worth it?
If you switch tools more than once a day, yes. A quick coupler turns a five-minute pin-and-hammer swap into a few seconds from the cab, which adds up fast on jobs that need a bucket, then a thumb, then a grading bucket in sequence.
The bottom line
The best mini excavator attachments are the ones matched to your real work and to your machine’s weight class and hydraulic flow. Start with a sensible bucket set and a thumb, then add an auger, breaker, grapple, or tilt bucket as your projects demand. Buy the right tool once, size it correctly, and a compact machine will handle far more than its footprint suggests. When you are ready to build your kit, explore our full range of mini excavator attachments or see everything available across the shop, and reach out if you would like help confirming the right fit for your machine.