Blog
How to Operate a Mini Excavator: A Beginner’s Guide
Learning how to operate a mini excavator is far less intimidating than it looks once you understand the controls and respect a few core safety habits. These compact machines do the work of a crew on trenching, grading, demolition, and landscaping jobs, and a careful first-timer can be productive within a day. This beginner’s guide walks you through the controls, startup routine, basic digging technique, and the safety practices that keep you and the machine in good shape.
Get to know your mini excavator before you start
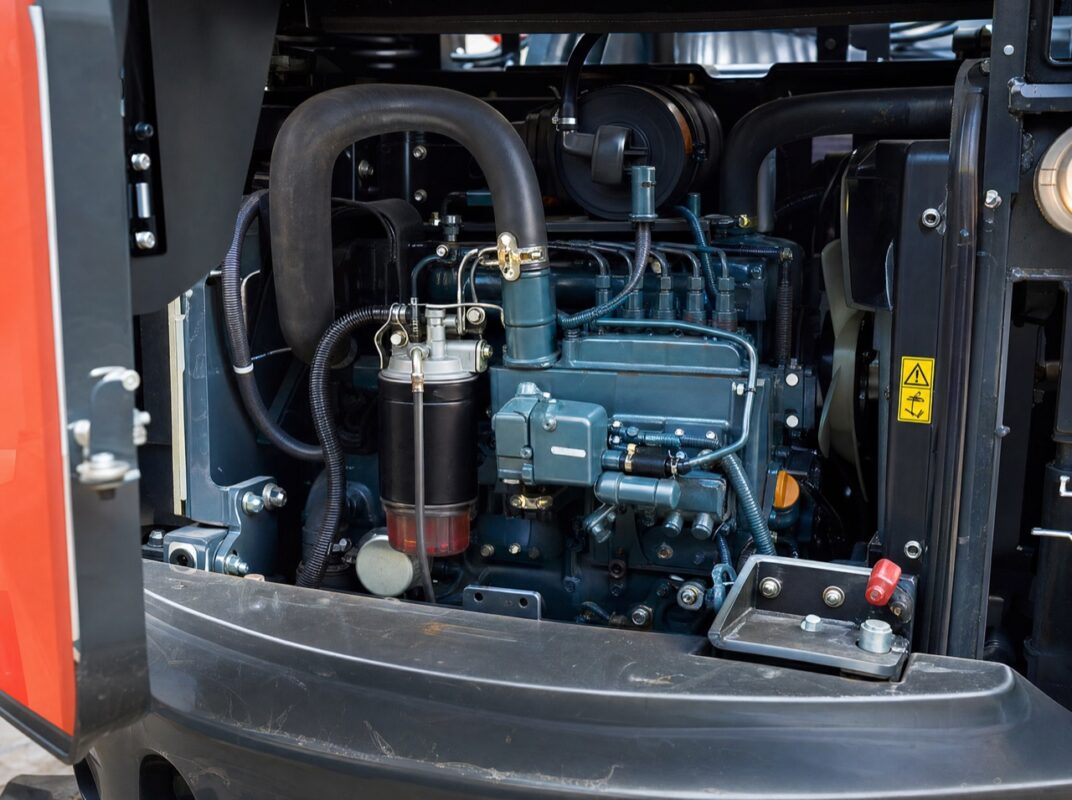
Before you climb in, spend a few minutes identifying the major parts. A mini excavator is built around a few key systems: the undercarriage (tracks and travel motors), the house (the rotating upper structure with the cab and engine), and the front working group (boom, arm or dipper, and bucket). Most models also have a backfill blade at the front for grading and stabilizing the machine.
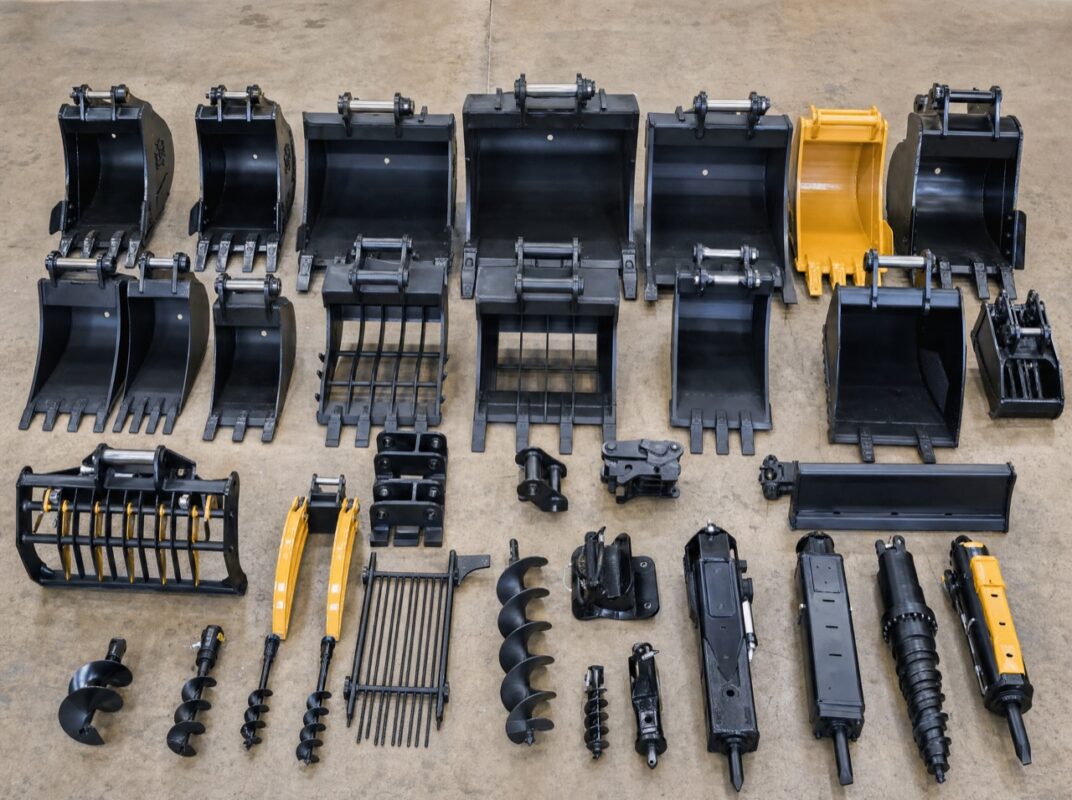
Many compact excavators run a genuine Kubota diesel engine, which is known for steady torque at low RPM and predictable hydraulic response. That predictability matters for beginners, because smooth hydraulics make it much easier to feather the controls and avoid jerky movements. Take time to locate the seat belt, the safety lock lever (often called the pilot control lockout), the throttle, and the auxiliary hydraulic controls if your machine runs attachments. If you are still comparing machines, the mini excavators range covers roughly 1 to 6 ton classes, and the right size depends on your jobs and how you’ll transport the machine.
The pre-operation checklist every operator should run
A quick walk-around before each shift prevents most breakdowns and accidents. Build the habit of completing this checklist every time, even on a machine you used yesterday.
- Check engine oil, coolant, and hydraulic fluid levels on level ground.
- Inspect the tracks for tension, cracks, or lodged debris like rocks and rebar.
- Look under the machine for fresh fluid leaks.
- Grease the boom, arm, and bucket pivot points if they’re due.
- Confirm the bucket teeth, pins, and retainers are secure.
- Test that the seat belt latches and the safety lock lever moves freely.
- Clear the cab glass and mirrors, and remove loose tools from the floor.
- Scan the work area for overhead lines, buried utilities, bystanders, and soft ground.
Calling 811 to have underground utilities marked before any dig is not optional in the United States. It is the single most important step you can take to avoid striking a gas, electric, or water line.
Startup, warm-up, and reading the controls
Climb in using three points of contact, sit down, and fasten your seat belt before touching anything. With the safety lock lever raised (locked), the hydraulics are disabled and the joysticks won’t move the machine, which is exactly how you want it while starting.
Starting the engine
Set the throttle to low or idle, insert the key, and start the engine. Let a diesel warm up for several minutes, longer in cold weather, so the hydraulic oil reaches operating temperature. Cold oil makes controls sluggish and accelerates wear. Once warm, lower the safety lock lever to enable the hydraulics.
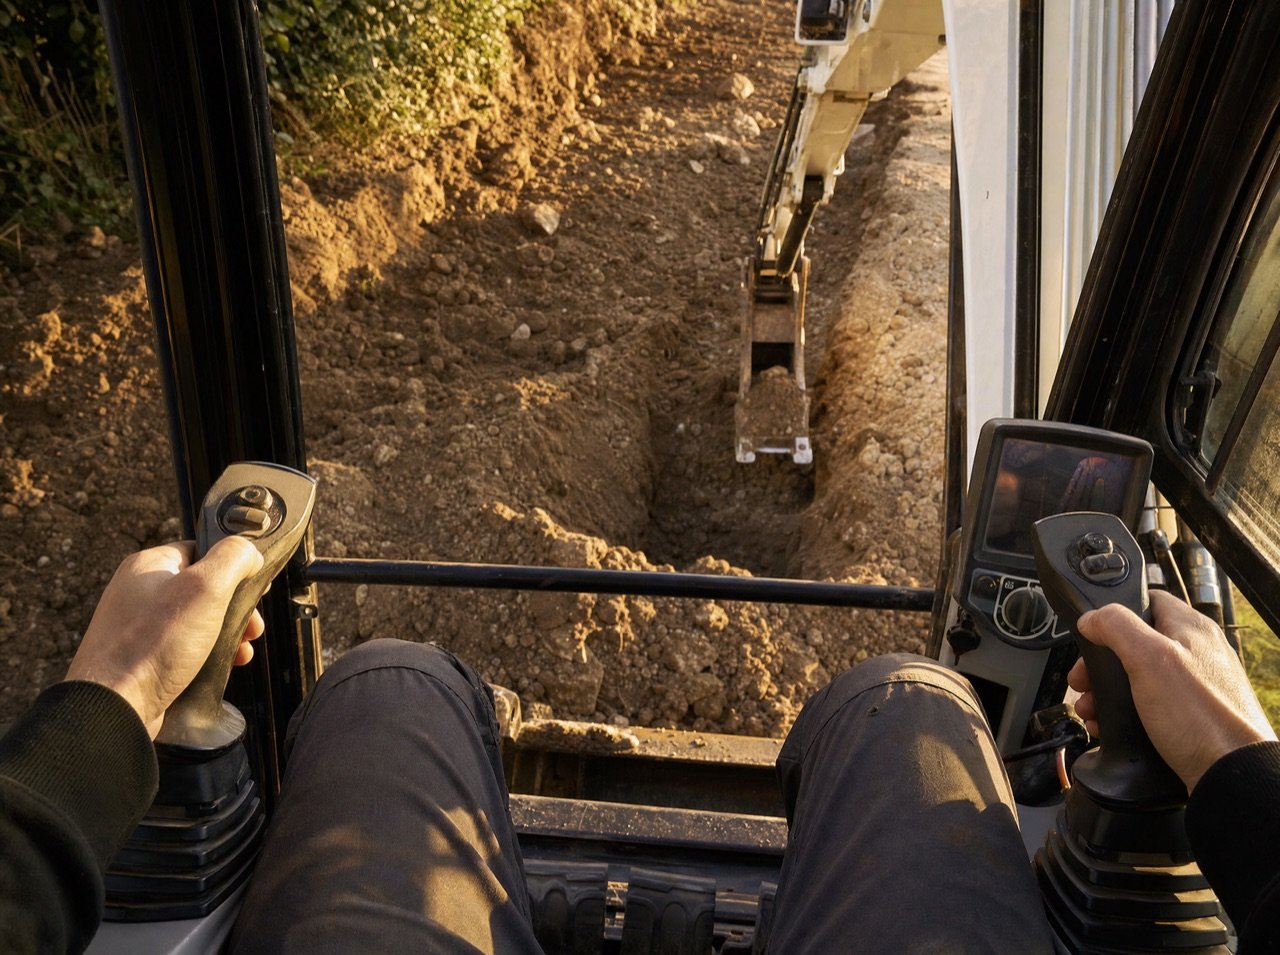
Understanding the two joysticks
Most mini excavators use two hand joysticks plus foot pedals or levers for travel. The industry-standard “ISO” pattern works like this:
- Left joystick: forward/back curls and extends the arm (dipper); left/right swings the house.
- Right joystick: forward/back lowers and raises the boom; left/right curls and dumps the bucket.
- Foot pedals or hand levers: drive the left and right tracks independently for travel and steering.
- Blade lever: raises and lowers the front dozer blade.
Some machines let you switch between ISO and the older “SAE” pattern, so always confirm which mode you’re in before digging. Practice each motion slowly in an open area until the movements feel natural.
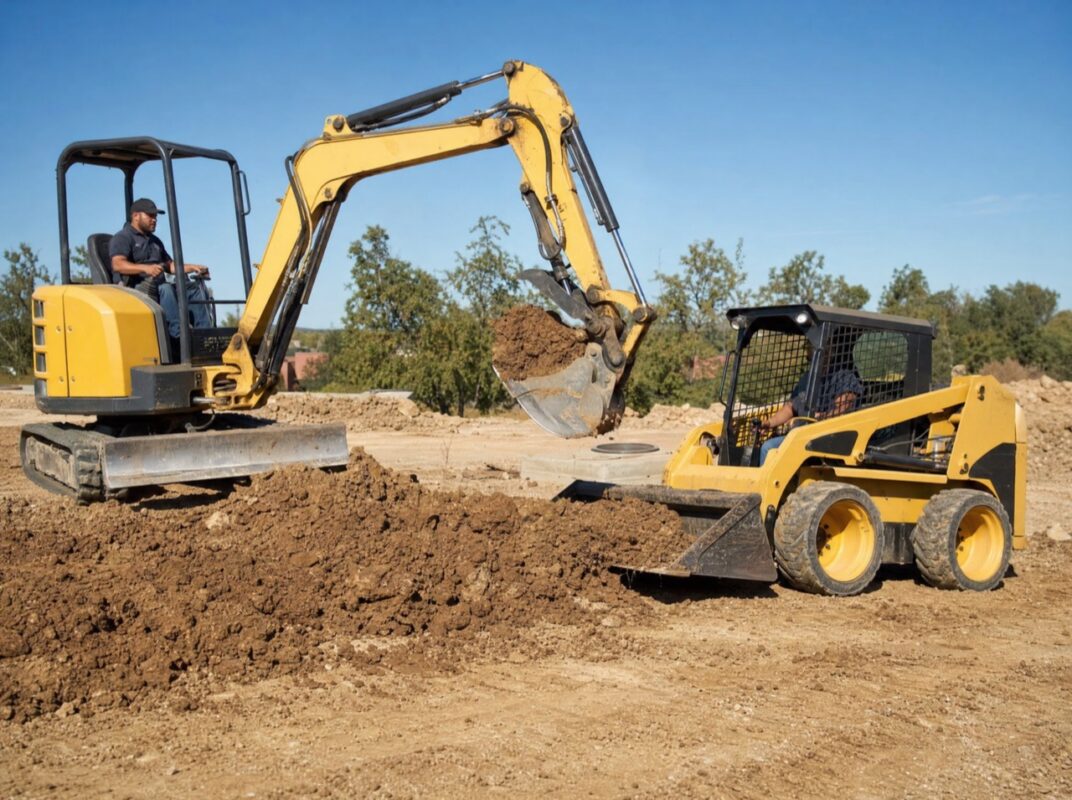
Your first dig: basic technique
Good digging is about smooth, combined movements rather than brute force. Start by lowering the blade to stabilize the machine, then position the tracks square to the trench you’re cutting.
The basic digging cycle
- Extend the arm out and set the bucket teeth at a slight angle to the ground.
- Pull the arm back toward the machine while slowly curling the bucket to scoop material.
- Lift the boom once the bucket is full, keeping the load low and close to the machine.
- Swing the house toward your spoil pile, then dump by curling the bucket open.
- Swing back, and repeat, working backward so you never dig the ground out from under your tracks.
Let the hydraulics do the work. Forcing the bucket through hard ground in one motion stalls the machine and wastes fuel. Take shallower bites in rocky or clay soil, and keep the load centered over the tracks when you swing to maintain stability. Always dig with the blade end of the machine when possible, since the machine is most stable in that direction.
Traveling and loading safely
Driving a mini excavator is where many beginners get into trouble, because the controls feel counterintuitive and the machine’s center of gravity is high. Keep the boom low and tucked in while traveling so a sudden tip doesn’t throw the machine off balance. On slopes, always travel straight up and down rather than across, and keep the heavy end (usually the boom) pointed uphill.
When loading the machine onto a trailer for transport, use a rated ramp, idle the engine, and travel slowly with the blade or boom positioned for stability. If you’re not sure your trailer and tow vehicle are rated for the machine’s weight, check the specifications before you haul. Buyers who order from us get free freight shipping to the lower 48 states, so your first machine arrives without you needing to wrestle it onto a trailer right away; you can review the details on our shipping and delivery page.
Shutdown and parking
Ending your shift correctly protects the machine and the next operator. Lower the bucket and blade flat to the ground so nothing is held up by hydraulic pressure, set the engine to idle for a minute or two to cool the turbo, then raise the safety lock lever and shut off the engine. Remove the key, and on slopes, leave the machine pointed downhill with the bucket grounded as a chock.
Frequently asked questions
Do I need a license to operate a mini excavator?
On private property, most US states do not require a special license to run a mini excavator. On commercial job sites, OSHA expects operators to be trained and competent, and some employers require documented certification. Always check your local and state rules before working on public or commercial ground.
How long does it take to learn to operate one?
Most people can perform basic trenching and grading after a few hours of practice in an open area. Developing the smooth, efficient technique of an experienced operator takes many more hours of seat time, but the learning curve for safe, useful work is short.
Can a beginner damage the machine by using it wrong?
The most common beginner mistakes are running cold hydraulics hard, overloading the bucket in tough soil, and traveling with the boom raised on uneven ground. Warming up the machine, taking reasonable bites, and keeping loads low prevent nearly all of that wear and tear.
The bottom line
Knowing how to operate a mini excavator comes down to a repeatable routine: inspect the machine, warm it up, learn the joystick pattern, dig with smooth combined movements, and travel with the load low. Respect the 811 call, the seat belt, and the safety lock lever, and you’ll be productive and safe from your first day in the seat. When you’re ready to put these skills to work, explore our mini excavators sized for everything from backyard projects to job-site production, or browse the full shop to compare machines, attachments, and accessories in one place.