Blog
Winterizing and Storing Your Mini Excavator
When the work slows down and the temperatures drop, how you put your machine away matters as much as how you run it. Winterizing and storing your mini excavator correctly protects the diesel engine, hydraulic system, and electrical components from cold-weather damage that often goes unnoticed until spring. A few focused hours now can save you from hard starts, gelled fuel, cracked seals, and an expensive call to a service tech in March.
Why Cold Weather Is Hard on a Mini Excavator
Cold does not just make a machine uncomfortable to operate. It thickens hydraulic oil, weakens battery output, encourages condensation inside fuel and crankcases, and lets moisture freeze in low spots and fittings. Diesel fuel itself can begin to gel as paraffin wax crystallizes in very cold temperatures, clogging filters and starving the engine. Rubber seals and hydraulic hoses also stiffen, so a machine that sits all winter without preparation is far more likely to leak or fail the first time you push it hard.
The good news is that compact construction equipment is built to take seasonal storage well when you follow a sensible routine. Whether you run a single mini excavator on a farm or rotate several across job sites, the same fundamentals apply.
Before You Store: Clean and Inspect
Start with a thorough cleaning. Mud, clay, and crop residue hold moisture against steel and accelerate rust, and packed debris around the undercarriage and final drives can freeze solid. Pressure-wash the tracks, undercarriage, bucket, and any attachments, then let everything dry before storage.
While the machine is clean, walk around it and look for problems you can address before spring:
- Inspect hydraulic hoses and cylinder rods for nicks, weeping, or worn spots.
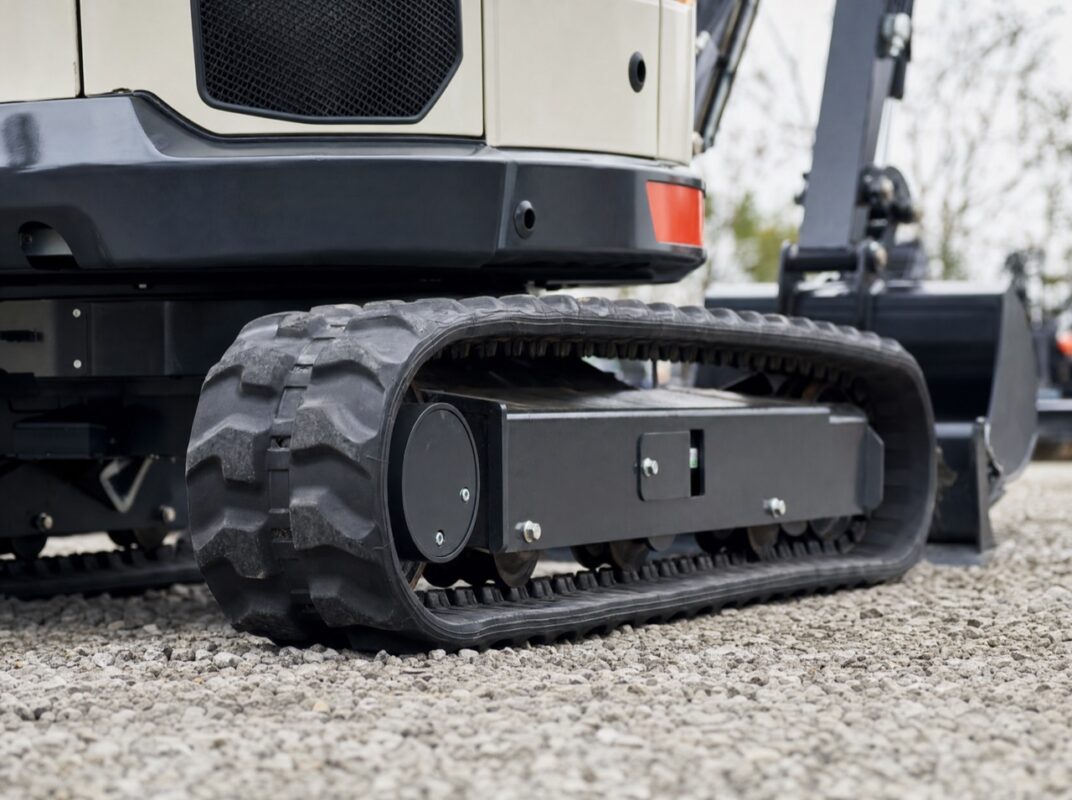
- Check track tension and look for cracks or chunking in rubber tracks.
- Grease every pivot point, the boom and arm pins, and the swing bearing.
- Note any small repairs so parts can be ordered over the off-season rather than during the spring rush.
If you find worn pins, bushings, or a tired bucket edge, the slow season is the ideal time to source replacements through our attachments and parts so the machine is ready to dig the day the ground thaws.
Fluids: The Heart of Winterizing Your Mini Excavator
Fluids are where most cold-weather damage starts, so give them the most attention when winterizing your mini excavator.
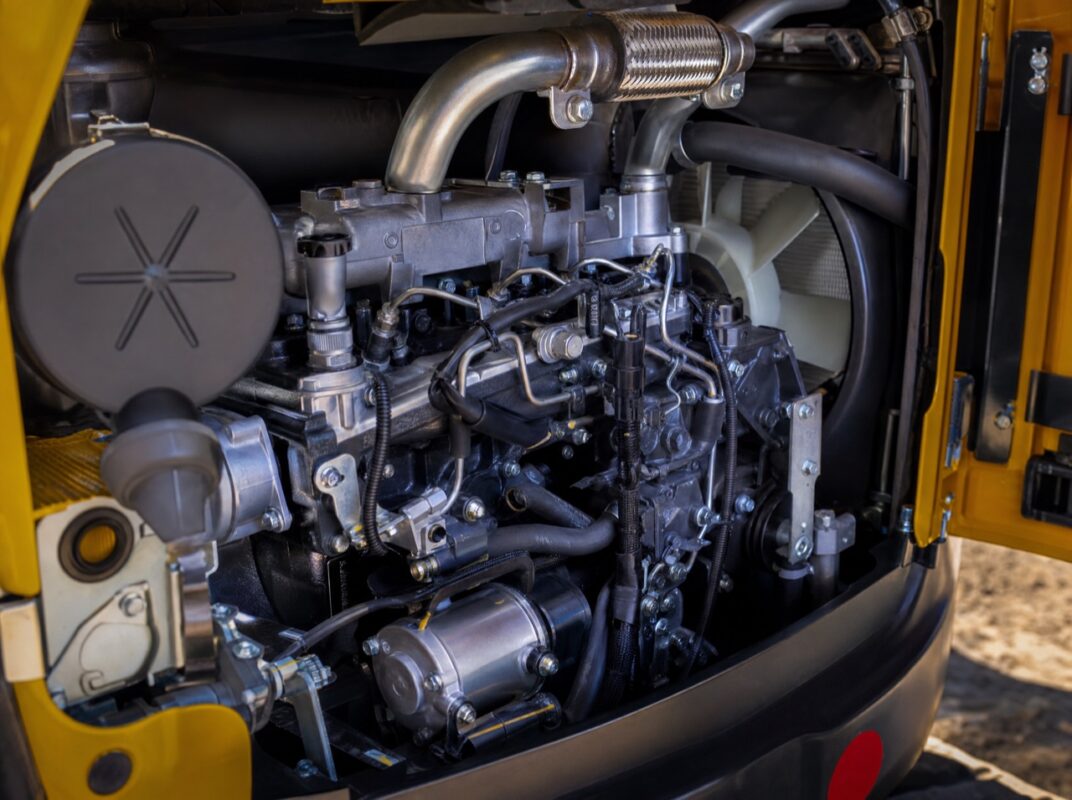
Engine Oil and Coolant
Change the engine oil and filter before storage. Used oil contains acids and moisture that can pit bearings and cylinder walls while the engine sits idle for months. Fresh oil leaves clean, protected internals. Check your coolant’s freeze protection with a refractometer or test strip and confirm it covers the lowest temperature your region sees. A 50/50 antifreeze mix is a common baseline, but harsh climates may need more concentration. Top off as needed and look for leaks at the radiator, hoses, and water pump.
Hydraulic Oil
Hydraulic oil should be at the correct level and reasonably clean. If it is near its service interval or looks milky or dark, change it and the filter before storage. Milky oil signals water contamination, which expands when it freezes and can damage pumps and valves. Cycle the boom, arm, and bucket several times before parking so fresh oil coats the cylinder rods and internal surfaces.
Fuel and Fuel System
Fuel deserves special care on a diesel machine. Follow these steps:
- Fill the tank nearly full to limit the air space where condensation forms.
- Add a quality diesel fuel stabilizer and, in cold regions, an anti-gel additive rated for your expected low temperatures.
- Run the engine for several minutes so treated fuel reaches the filter, lines, and injection system.
- Drain any water separator bowl so trapped moisture cannot freeze and crack the housing.
Battery, Electrical, and Final Prep
Cold weather can cut a battery’s available cranking power dramatically, and a marginal battery rarely survives a long, cold idle. Clean the terminals, coat them with dielectric grease, and confirm the battery holds a strong charge. If the machine will sit unused for weeks, either disconnect the negative terminal or connect a smart maintenance charger to keep it topped off without overcharging.
Finish the prep with these final steps:
- Retract the cylinder rods as far as practical, or coat exposed rods with a film of clean grease or preservative to prevent surface rust and seal damage.
- Lower the bucket and blade to the ground so no hydraulic pressure is held over the winter.
- Plug the exhaust and air intake loosely with a breathable cover or clean rag to keep out rodents and moisture, and remember to remove them before the first start.
- Park on a dry, firm surface or wood blocks rather than bare ground, which wicks moisture into the undercarriage.
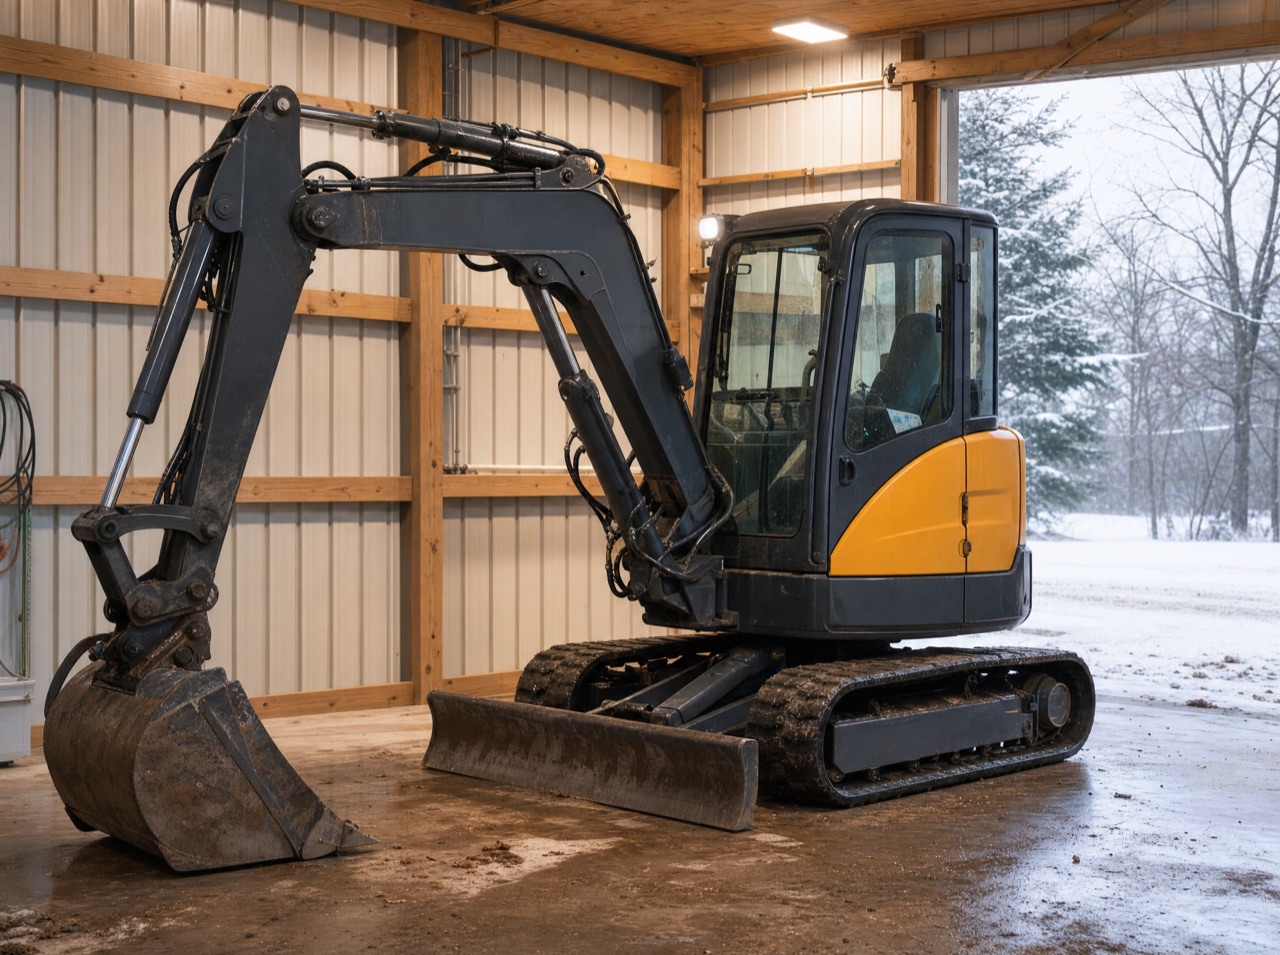
Where and How to Store It
Indoor storage in a dry, unheated shed or barn is ideal because it shields the machine from snow, ice, and UV exposure. If you must store outside, park on high ground away from standing water, keep tracks and tires off frozen mud, and use a breathable cover instead of plastic tarps that trap condensation against the paint and seals. Rodents love warm engine bays in winter, so set traps nearby and check the machine periodically for chewed wiring or nests.
If you are still deciding which machine to buy and want one easy to maintain through northern winters, our mini excavator lineup spans roughly the 1 to 6 ton range, and our team can talk you through cold-climate considerations before you order.
Spring Start-Up Checklist
Pulling a stored machine back into service is not just turning the key. Work through this checklist first:
- Remove any intake and exhaust plugs you installed.
- Reconnect and verify the battery charge; clean terminals again if needed.
- Check all fluid levels: engine oil, coolant, and hydraulic oil.
- Inspect for leaks, rodent damage, and chewed wiring or hoses.
- Wipe preservative grease off the cylinder rods.
- Confirm track tension and re-grease the pivot points.
- Let the engine idle and warm up before applying load, and cycle the hydraulics slowly until the oil reaches operating temperature.
A gentle warm-up lets thick cold oil flow properly and protects the pump and engine during those first critical minutes.
Frequently Asked Questions
How often should I start a stored mini excavator over the winter?
If you have prepared it properly, you generally do not need to start it. Occasional short starts can actually cause harm by introducing moisture and never fully warming the engine to drive it off. If you do start it, run it long enough to reach full operating temperature and cycle the hydraulics, then shut it down warm.
Do I really need a diesel additive if I store the machine indoors?
Yes. Even in a barn, untreated diesel can attract moisture and begin to degrade over a long storage period, and a sudden cold snap can still gel fuel. A stabilizer and anti-gel additive are inexpensive insurance against fuel-system problems in spring.
Can I leave the bucket and blade raised over winter?
No. Lower all implements to the ground before storage so the hydraulic system holds no pressure. This protects seals and cylinders and is far safer for anyone working around the parked machine.
The bottom line
Winterizing and storing your mini excavator comes down to clean fluids, treated fuel, a protected battery, and smart positioning out of the weather. Spend a focused afternoon now, and your machine will reward you with an easy spring start and years of reliable digging instead of cold-weather repairs. When you are ready to add a winter-ready machine or stock up on parts before the season turns, explore our full equipment catalog and browse our mini excavators, and reach out anytime if you want guidance on the right setup for your climate.